Tempering is the fundamental skill in making chocolates – it ensures a finished product with a perfect snap, a shiny appearance, and a stable shelf life. The process of tempering chocolate is all about building the perfect crystal structure in the cocoa butter.
Bloom = Bad News
Have you ever seen chocolate with a dull white or gray-ish appearance? This doesn't mean your chocolate has gone bad, but is actually an indication that the chocolate structure (aka tempering) has been damaged. This sort of damage is typically attained by mistreatment of temperature or high humidity, and is called 'bloom'. But don't worry, all is not lost! Bloomed chocolate can be used in baking hot chocolate, or for the thrill-seeking chocolate student, you can re-temper the chocolate to bring it back to it's shiny & snappy dream state.
The Magic Formula
There is a magic formula to successfully tempering chocolate:
Temperature + Time + Movement = A proper crystal structure (called Beta 5)
There are two main methods used to temper chocolate:
- The 'Table Method' - where the melted chocolate is swirled on a cool surface (marble) and moved with scrapers constantly, like you see in the movies.
- The 'Seeding Method' - less 'Hollywood' but involves much less clean up!
Let's Get Tempering!
So let's learn the Seeding Method! Before you start, it's important to note that the chocolate for this method must be in good health (aka tempered) state. The quickest way to confirm this is to break off a piece of the chocolate. If it has a good snap, and you can't see any bloom.
What you will need:
- A pot with 2" of water in it
- A bowl with a diameter that is wider than the pot (it should sit on top of the pot, without the base of the bowl touching the water)
- Knife for chopping the chocolate
- Cutting board
- Spatula
- Thermometer
All that's left to do is to follow these steps:
- Melt 2/3 of your chocolate in a double-boiler (bowl over the pot, with the element at medium heat)
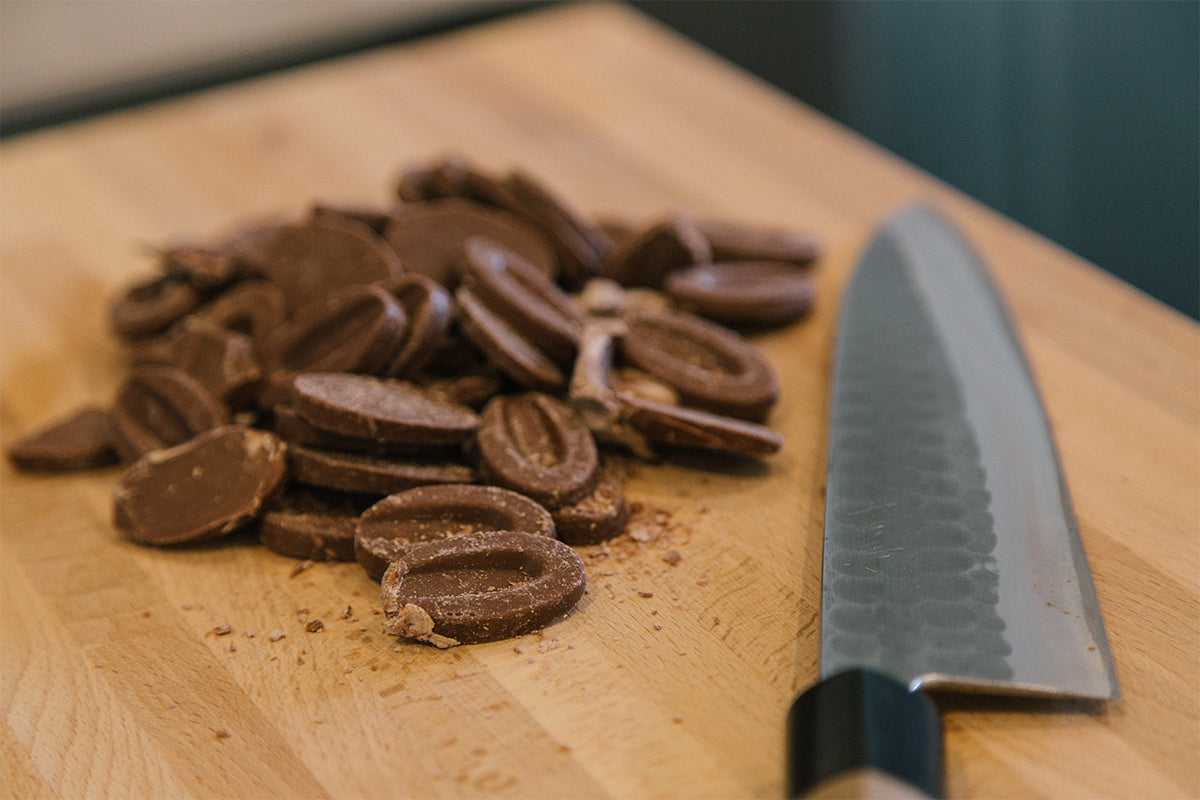
- In the meantime, chop the remaining 1/3 of the chocolate into small pieces (approx. 0.5cm - 1cm), which becomes the 'seed' for tempering. Split this chopped chocolate into three piles.
- Once the chocolate is melted and reached 45C (do not go above 55C) remove pot from the heat and wipe the base of the bowl so that it is dry (chocolate and water are enemies!)
- Take your first pile of chocolate, and add to the bowl of melted chocolate & stir well until the chocolate has completely melted.
- Immediately add the second pile of chocolate, and stir until this chocolate has melted. (note: it will take longer than the first pile to melt, as you are quickly cooking the chocolate to create that beautiful crystal structure)
- Now that the second pile has melted, add the remaining third pile of chocolate in very small increments, stirring very often until your pieces are fully melted or you have reached the target temperature (30C for milk chocolate and 32C for dark chocolate). If all the chocolate is melted and you haven't reached the desired temperature, continue adding very small amounts of chopped chocolate and stir until the temperature has been achieved.
- Give the chocolate a very good stir and do a ribbon test by taking your spatula and dipping it in the chocolate and swirling it over the chocolate in the bowl. The resulting 'ribbons' from your spatula should sit on top of the mass of chocolate (thank you crystals!) vs seeping back into the mass.
- Voilà, your chocolate is tempered! Remember, tempered chocolate in liquid form is very excited to show off its new crystal form, so it will set very quickly!
Common Questions
Q: What if not all the chopped chocolate has melted, but the desired temperature has been reached?
A: Given that you were only adding very small amounts of seed from the third pile, you can take a spoon and remove any unmelted chunks.
Q: The chocolate is setting too quick! How can I keep it workable for longer?
A: Use a hair dryer to give an occasional blast of heat while stirring, ensuring that you don't heat the mass over the target temperature. Use the hair dryer to keep the temperature of the chocolate as close to the target temp as possible.
Q: The set chocolate is streaky – is it in temper?
A: Unfortunately not. Streaks are a sign of unstable crystals. Tempering is very much a skill and a 'feel' that comes with experience.